|
It's no secret that districts are scrambling to put technology in the hands of every student right now. Most are doing everything they can to ensure students are able to access online learning tools safely. This has led to changes in student security settings, which may be making it more difficult for students in your classroom to use audio clips (or videos) that originate from outside the district. This makes sense for student security, and it really is important. But what happens if you know the audio is safe, like the leveled texts with audio you just bought off Teachers Pay Teachers? Luckily, there's a way to make the audio accessible for your students, and it only takes a few quick steps! Who needs to follow these steps?Do you have embedded audio in your Google assignments that your students just can't seem to play, even after you've checked that all the share settings are correct? If this audio was first uploaded to a Google Drive that is not owned by your district, then this is for you. Always ask your district to approve the audio first, though! Some district IT departments are able to grant access to specific files or for specific teachers. How long will this take?Like everything, this depends on your tech prowess and the speed of your internet. I followed these steps for an entire text set (changing out 6 pages of audio) in just about 5 minutes. Even if you aren't normally speedy with technology, it would probably take under 10 minutes...aka way less time than you'd spend explaining to students why the audio isn't working. So...how do I do it?1) Click the link, then use the download button in the top right corner of your Google Drive. Clicking “Add a Shortcut to Google Drive” will not work because the file is still hosted outside your domain.
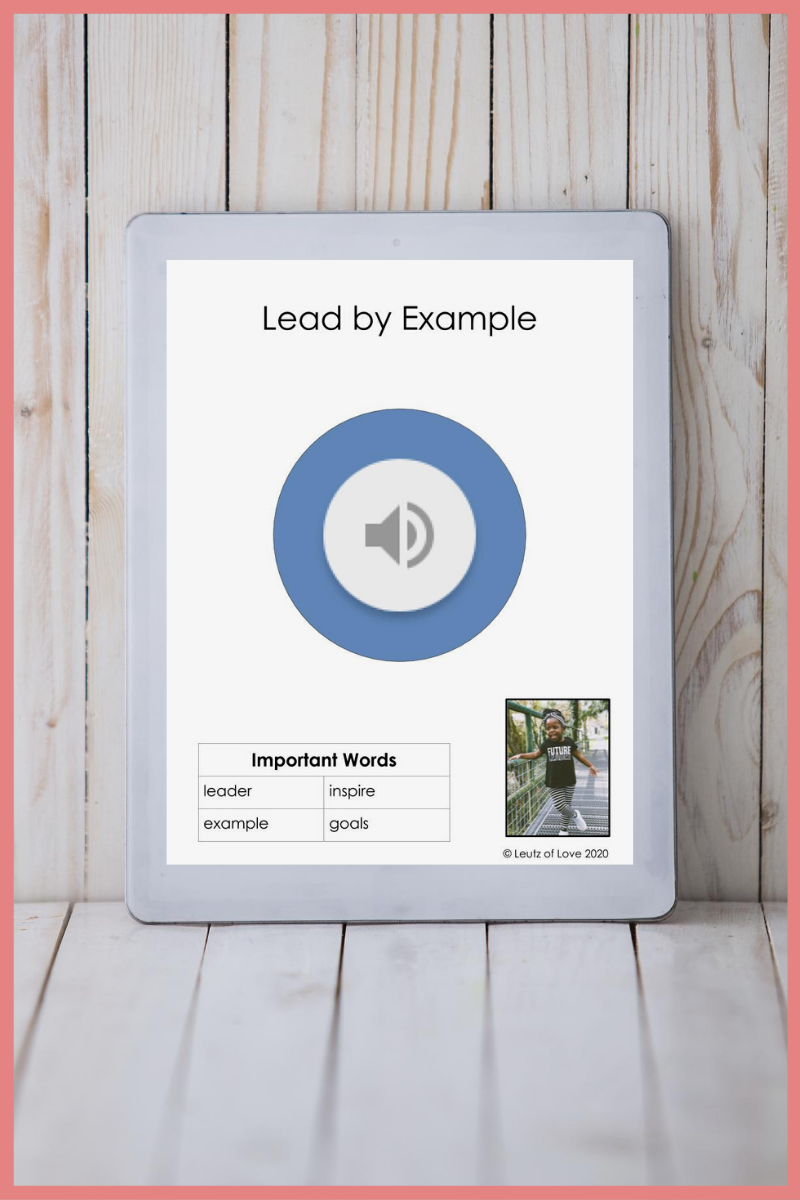
2) Add these files to your Google Drive. You can just open Google Drive and drag and drop them in from your downloads folder! 3) Open the resource you want to use, and delete the audio files that are already there by clicking the audio icon and pressing delete on your keyboard. 4) In the top menu, click Insert--> Audio. It'll pop up with a box, and you'll just pick the audio you want. (aka, if you're on a "Level 1" resource, you'll pick the audio that matches the level and content) After you've picked the audio file, click "Select" at the bottom of the pop-up. 5)After you've clicked "Select," a sidebar called "Format Options" should pop-up. Under "Audio Playback" uncheck "Stop on Slide Change." 6) If you're using these steps for my ESL Leveled Texts with audio, and if you want the audio to be the same size and location, scroll down to "Size and Rotation" on the format options sidebar. For the Digital With Audio version, the size is 0.59 in x 0.59 in. For the Audio Only version, the size is 3.33 in x 3.33 in. Then just drag it to the correct spot! Note: By adding these audio files to your Google Drive, you are taking full responsibility of the files. Please ensure that you are in compliance with your district's policies. And that's it! Sit back with a cup of coffee and watch your kids become independent learners. You deserve it!
0 Comments
Your comment will be posted after it is approved.
Leave a Reply. |
Categories
All
AuthorHey there! I'm so glad you're here! Categories
All
Leutz of Love Blog |


